E-mail:
sales@silicone-sealant-china.com

Views: 479 Jul 08 , 2026
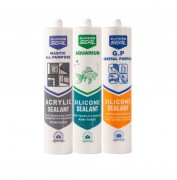
Introduction One of the most common questions both professionals and DIYers ask about silicone sealant is: "How long does it take to cure?" The answer is not as simple as a single number. Silicone sealant curing is a complex chemical process influenced by multiple environmental and application factors, and understanding these variables is essential for achieving a durable,...
Views: 667 Jul 07 , 2026
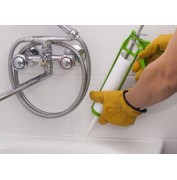
Two Families, One Goal: Understanding Silicone Chemistry If you have ever stood in the sealant aisle wondering why some tubes say "acetoxy cure" and others say "neutral cure," you are not alone. These two terms describe the two most common curing systems in silicone sealants, and the difference between them matters more than most people realise. Pick the wrong type for...
Views: 280 Jul 02 , 2026
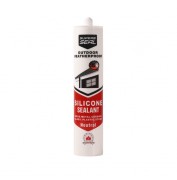
The Short Answer: Yes, but Not How You Think If you've ever applied silicone sealant on a humid day and noticed it seemed to set faster than usual, you're not imagining it. Water does play an important role in how silicone cures — but the relationship is more nuanced than simply "water makes it dry faster." Understanding exactly what's happening will help you get...
Views: 317 Jul 02 , 2026
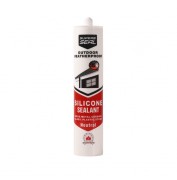
Introduction When you need to seal a joint, fill a gap, or waterproof a surface, the choice of sealant material makes all the difference between a repair that lasts decades and one that fails within months. Walk into any hardware store and you will find rows of tubes labeled silicone, polyurethane, acrylic, latex, and hybrid sealants — each claiming superior...
Views: 194 Jun 29 , 2026
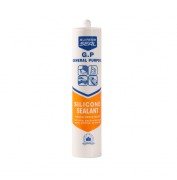
I remember the first time I dealt with a leaking window frame. Water had been seeping in quietly for months before I finally tracked it down — a hairline gap in the old sealant that had gone brittle from years of sun and rain. A neighbor suggested silicone weatherproofing sealant, and honestly, I had no idea how much I'd been missing out on. Silicone weatherproofing sealant...
Views: 420 Jun 22 , 2026
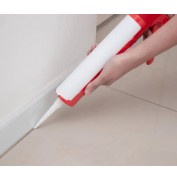
Introduction Whether you are renovating a bathroom, replacing a window seal, or preparing a surface for fresh sealant application, removing old silicone sealant is often the first — and most frustrating — step of the job. Silicone sealant is designed to be durable, flexible, and water-resistant, which means it clings stubbornly to surfaces long after you want it...
Views: 2129 Jun 21 , 2026
The Short Answer: It Depends on the Type and the Timing Silicone sealant and water have a more complicated relationship than most people realise. Ask ten different contractors what happens if silicone gets wet before it cures, and you'll get answers ranging from "it's ruined, start again" to "don't worry, water actually helps it cure." Both answers contain a grain of...
Views: 239 Jun 18 , 2026
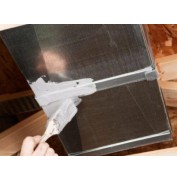
Why Sealing Duct Vents Matters Most homeowners don't think about their ductwork until something goes wrong — a room that never quite reaches the right temperature, energy bills that creep up every winter, or a faint whistling from the ceiling that wasn't there before. In most cases, the culprit is the same: unsealed or poorly sealed duct joints letting conditioned...
Views: 388 Jun 14 , 2026
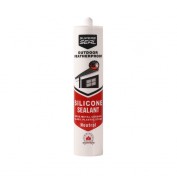
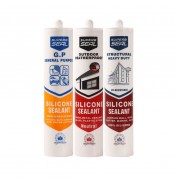
They Look the Same. They Are Not the Same. Walk into any builder's merchant and you'll see rows of sealant cartridges lined up on the shelf. Most of them look identical — same size tube, same nozzle, same price bracket. It's easy to assume that one tube of silicone is much the same as another. But if you pick up a tube of weather sealant when the job calls for structural...
Views: 466 Jun 10 , 2026
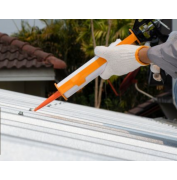
Introduction Silicone sealants are indispensable in modern construction, manufacturing, and home improvement. But walk into any hardware store or browse a supplier's catalog, and you will quickly encounter a fundamental distinction: neutral cure versus acetoxy cure silicone sealants. Choosing the wrong type can lead to adhesion failure, substrate damage, and costly...
Views: 1201 Jun 09 , 2026
The Short Answer: It Depends on the Sealant Most sealants and adhesives would rather you waited for a dry day. But let's be honest — if every outdoor repair job got postponed until conditions were perfect, half the world's leaking gutters would never get fixed. The good news is that some sealants genuinely are designed to cope with wet weather, and knowing which ones...
Views: 720 Jun 04 , 2026
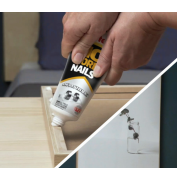
So You've Squeezed the Tube — Now What? You've pressed the trigger, laid down a neat bead of No More Nails, and pushed everything together. Now you're standing there, holding the thing in place, wondering: how long do I actually have to stand here? The honest answer? It depends. But don't worry — we're going to break it all down so you can plan your project...
Copyright 2019 by Hangzhou Silicone Tech Adhesive Co., Ltd. All rights reserved.
Bathroom Sealant | Acrylic Sealant | Dow Corning 795 | Aquarium Sealant | Dow Corning 732 | Clear Silicone Sealant | Polysulfide Sealant | Glazing Sealant | Mirror Sealant | IG Sealant
Powered by Onepound


